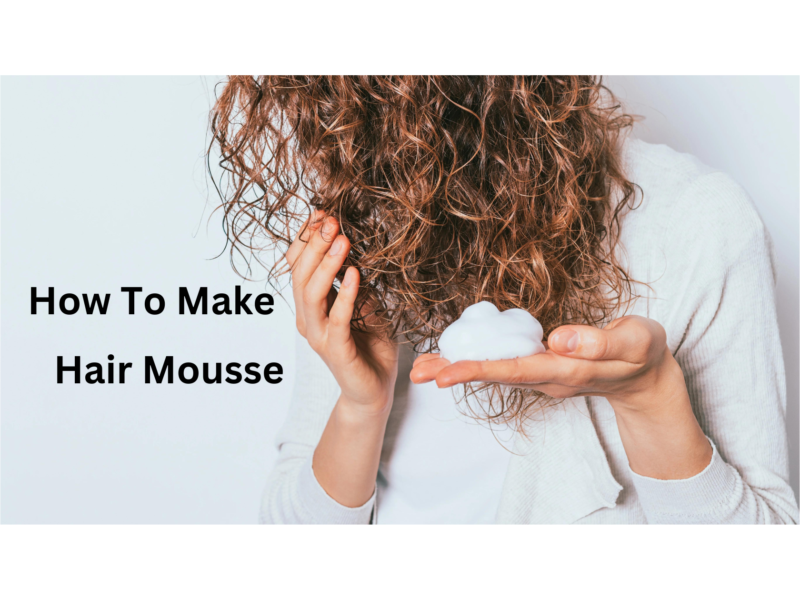
Hair mousse proves to be a flexible styling product that adds volume, texture, and hold to your hair. While you can find a wide range of commercial hair mousses in the market, knowing how to make your hair mousse provides the ability to manage the components, enabling personalized adjustments to tailor it according to your distinct hair type and preferences. In this blog post, we’ll walk you through a simple and effective recipe for making hair mousse at home, using natural ingredients that promote healthy hair.
Understanding Hair Mousse
Before we dive into the recipe, it’s essential to understand what hair mousse is and how it works. Hair mousse is a foam-like styling product that typically contains a blend of water, alcohol, polymers, and other ingredients. It is designed to add volume, enhance curls, and provide a lightweight hold to the hair. Mousse is an excellent choice for those with fine or flat hair, as it can lift and add to the body without weighing it down.
Easy Steps on How to Make Hair Mousse
Gather Your Ingredients
To create your hair mousse, you’ll need a few basic, readily available ingredients. Here’s what you’ll need:
- 1 cup of distilled water
- 1 tablespoon of gelatin or a vegan alternative like agar-agar
- 1 tablespoon of aloe vera gel
- 1 full tablespoon of the carrier oil (such as coconut oil or argan oil)
- Optional: essential oils for fragrance (lavender, rosemary, or your preferred scent)
The Hair Mousse Recipe
Now, let’s get into the step-by-step process of making your homemade hair mouse:
Step 1
Heat the distilled water in a small saucepan over low heat until it reaches a warm, but not boiling, temperature.
Step 2
Sprinkle the gelatin (or vegan alternative) evenly over the warm water, and whisk until it dissolves completely.
Step 3
Take the saucepan off the heat and let the mixture cool down a bit.
Step 4
Add the aloe vera gel and carrier oil to the saucepan, stirring well to combine all the ingredients thoroughly.
Step 5
If you wish, you can include a few droplets of the essential oil you prefer to impart a pleasant scent. Mix well.
Step 6
Place the blend into a sanitized, sealed receptacle, such as airtight container or pump bottle, for convenient use.
Step 7
Allow the mousse to cool completely and solidify before using. It can be chilled for quicker cooling.
Application and Storage
To apply your homemade hair mouse, start with clean, damp hair. Pour a tiny bit of mousse into your hand, then work it evenly into your hair, paying special attention to the roots for extra lift. Using a blow dryer, diffuser, or other styling tools, style your hair as desired.
Store your homemade hair mousse in a cool, dry place away from direct sunlight. It should stay fresh for several weeks. Nevertheless, should you detect any alterations in scent, texture, or color, it’s best to discard and make a fresh batch.
Benefits of Homemade Hair Mousse
There are several benefits to making your hair mousse at home. Let’s explore some of these advantages:
1. Control over Ingredients
One of the most significant benefits of making homemade hair mousse is having full control over the ingredients used. Many commercial hair mousses contain chemicals, artificial fragrances, and substances that have the potential to remove the natural oils from your hair and inflict damage. By making your mouse, you can choose natural and nourishing ingredients that promote healthy hair without any unwanted additives.
2. Customization
Everyone’s hair is unique, and different hair types require different types of products. When you make your hair mousse, you have the freedom to customize it according to your specific needs. For example, if you have dry hair, you can add more moisturizing ingredients like aloe vera gel or argan oil. If you have curly hair, you can incorporate ingredients that enhance and define your curls. Customizing your hair mouse allows you to cater to your hair’s requirements.
3. Nourishment and Hydration
Homemade hair mousse can be formulated with ingredients that nourish and hydrate your hair. Natural ingredients just like the aloe vera gel, coconut oil, argan oil, or shea butter provide moisture and hydration to the hair strands, preventing dryness and brittleness. These ingredients also help to retain moisture, resulting in healthier and shinier hair.
4. Cost-effective
Commercial hair mouses can be quite expensive, especially those that claim to offer salon-quality results. Making your hair mousse can save you money in the long run. The ingredients used in homemade mousse are often readily available and more affordable than their commercial counterparts. Additionally, you can make a larger quantity of hair mousse with the same budget, ensuring that you never run out of your favorite styling product.
5. Reduced Chemical Exposure
Many commercial hair mousses contain substances such as sulfates, parabens, and artificial fragrances, which may have an adverse effect on the hair and scalp due to their abrasive nature.. Making your hair mouse allows you to eliminate or minimize exposure to these potentially harmful chemicals. By opting for natural and organic ingredients, you can reduce the risk of irritation, allergies, or long-term damage to your hair and scalp.
6. Environmental Friendly
When you make your hair mouse, you have the opportunity to contribute to a more sustainable and eco-friendly lifestyle. Commercial products often come in plastic packaging that contributes to pollution and waste. By making your mousse, you can store it in reusable containers, reducing your plastic consumption and environmental footprint.
Conclusion
Making your hair mousse is a fantastic way to achieve salon-worthy results while avoiding the potential downsides of commercial products. With a simple recipe and readily available ingredients, you can create a personalized hair mousse that suits your specific hair type and needs. So, give it a try, and enjoy the benefits of voluminous, well-styled hair with your homemade hair mouse!
Keep in mind to try out different approaches and fine-tune the recipe as needed to suit your preferences, and always conducting a patch test to confirm the absence of allergies to any of the ingredients. Happy hairstyling!


